How To Repair Plaster Walls
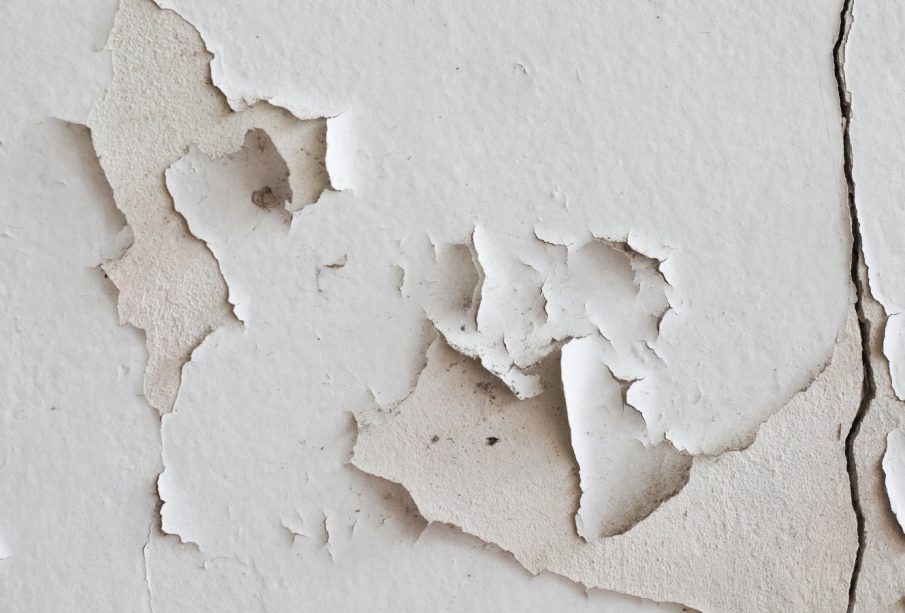
You just gotta love plaster. This rock-hard material, which was used to cover the walls and ceilings in nearly all houses in the United States until the 1950s, gives us surfaces that have a seamless finish, are mold resistant, resistant to fire, and sound deadening. What to do when plaster buckles, cracks, and comes loose? Many of our readers are confused by this question, including Tim Thorp, whose home in Providence, Rhode Island, is full of badly damaged plaster.
In an email, he asked us, “How can I fix 100 years worth of cracks and holes in the wall so that it looks flat and clean?” Tom Silva shows us how to fix plaster walls so they look like new.
Plaster Crack Repair: An Overview
It is important to reconnect the wood lath strips with the plaster. If you don’t, the cracks will return no matter how often you patch them. usually attaches the lath using screws and metal washers prior to attempting any repairs.
He recently tried Big Wally’s Plaster Magic a glue based adhesive for homeowners that replaces screws. It costs more ($120 for a six-tube set versus $20 per 120 metal washers), but the final finish is much easier to achieve and more attractive because there are no washers. A glued connection will last longer than one that is screwed.
How To Repair Plaster Walls
Drill into the plaster
- Drill a hole about 2 inches away from the crack using a 3/16-inch masonry bit. Stop when you reach the lath. The bit will not go through the wood. Pull out the bit and drill another 3 inches away from the first hole and 2 inches from the crack. With every hole, try to drill a lath strip. If you miss the hole, the bit will sink right into the chuck.
- Mark these holes with a pen to remind you not to fill them with primer or glue in the following steps. Drill again, about a half-inch up or down.
- Continue to drill holes until you have a series about 4 inches apart on both sides of your crack. Remove the plaster crumbs from all of the holes.
Prime and seal
- Wear safety goggles, and then spray a stream of acrylic conditioner through each hole (but not the ones you have marked). Two or three squeezes are usually enough.
- Spray around the edges of cracks, as well, and wipe up any drips using a damp sponge. Wait 10 minutes to allow the milky conditioner to soak in the wood and plaster.
Inject the adhesive
- Place the adhesive tube nozzle into one of the holes that have been primed. Squeeze the caulking gun trigger gently until the creamy adhesive fills the hole. A little will back out around the nozzle.
- Repeat the process for any holes that are not marked. Remove the excess paint and clean the wall with a damp sponge.
Clamp the wall
- Insert a 2-inch plastic washer over the one 5/8-inch drywall screw and then drive it through the adhesive-filled hole into the lath. The washer provides a large clamping surface for the screwhead, while the screwhead pulls the lath up against the plaster on the backside.
- Install washers 8 to 12 inches apart on each side of the crack.
Wipe and wait
- Use a sponge to remove any adhesive residue.
- Then, wait a few days for the plaster to dry. Remove the screws and remove the washers. Save them for a future plaster repair project. Scrape any dried adhesive that pokes out of the holes.
Fill in the crack
- Use a small amount of joint compound to fill in the cracks and holes. Smooth out the wet compound using a trowel. As it starts to dry, re-wet it and smooth it again.
- After the compound has dried, lightly sand and prime the area.
For more info – https://qualifiedexteriors.co.nz/plaster-crack-repairs-auckland/

Leave a reply
You must be logged in to post a comment.


